Managing items from the inventory module
Adding an item:
- First, navigate to the "Inventory" module page
- Next, click the "Add" button.
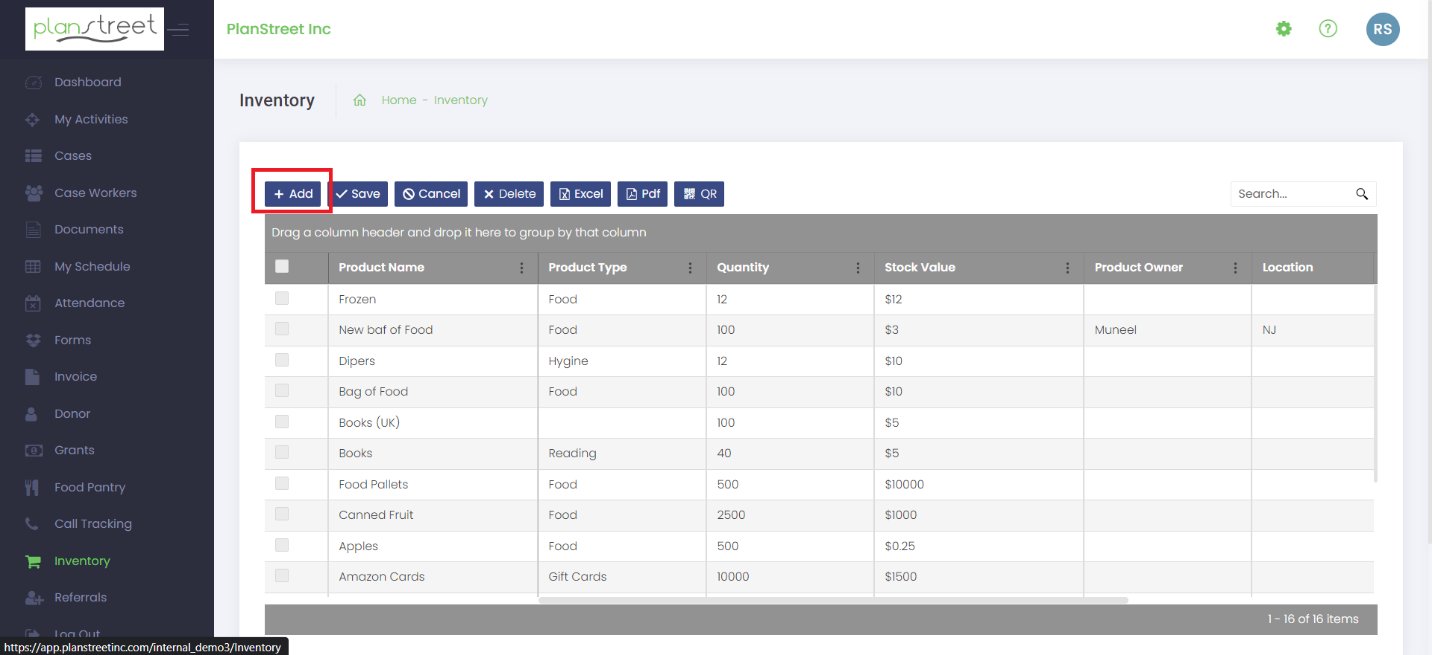
- A new line record is added to the table to be filled out by the user.
- Fill in the Product Name, Product Type, Quantity, Stock Value, Product Owner, and Location.
- Lastly, click the “Save” button. If you do not wish to save the information, click “Cancel” instead.
- Note: By default, the “Stock on Hand” value for the new record will be set to the value of the “Quantity” field. For example, if Quantity = 1000, Stock on Hand = 1000.
Editing an item:
- Navigate to the "Inventory" module page.
- Click on one of the Product names in the grid:
- You will see the cases assigned to which Items are distributed:
- You will also be able to see the rate and the cost for the distributed items in detail.
- All the products and details are editable by clicking on the field.
- When a program or activity is assigned to the inventory, it cannot be updated.
- You can delete a product from the inventory by selecting the product and clicking on the delete button.
- Navigate to the Inventory module page.
- Click on the “Excel” or “PDF” buttons to download the Inventory data grid into Excel or PDF formats, respectively.
- Open the downloaded file to view:
- You can search an item by just searching the item’s name using the search bar icon.
|
